Migrating your short links from other link shorteners, like
- Bitly,
- Rebrandly,
- Short(.)io,
- TinyURL,
- Replug,
- Dub,
- Switchy,
- Cutt.ly,
- JotURL, and others is simple.
Follow the steps below to ensure a smooth transition.
Before you start: You must transfer or change your branded domain nameserver from your current registrar (e.g., Namecheap, GoDaddy, Porkbun, Domain(.)com) to Cloudflare.
This is required for SSL purposes; otherwise, you won’t be able to migrate your links or install an SSL on your domain.
Step 1: Add your domain to your Linko account
-
Log in to your Linko account.
-
Navigate to the Domains section.
-
Add your branded domain (the domain that is currently in use with another link shortener).

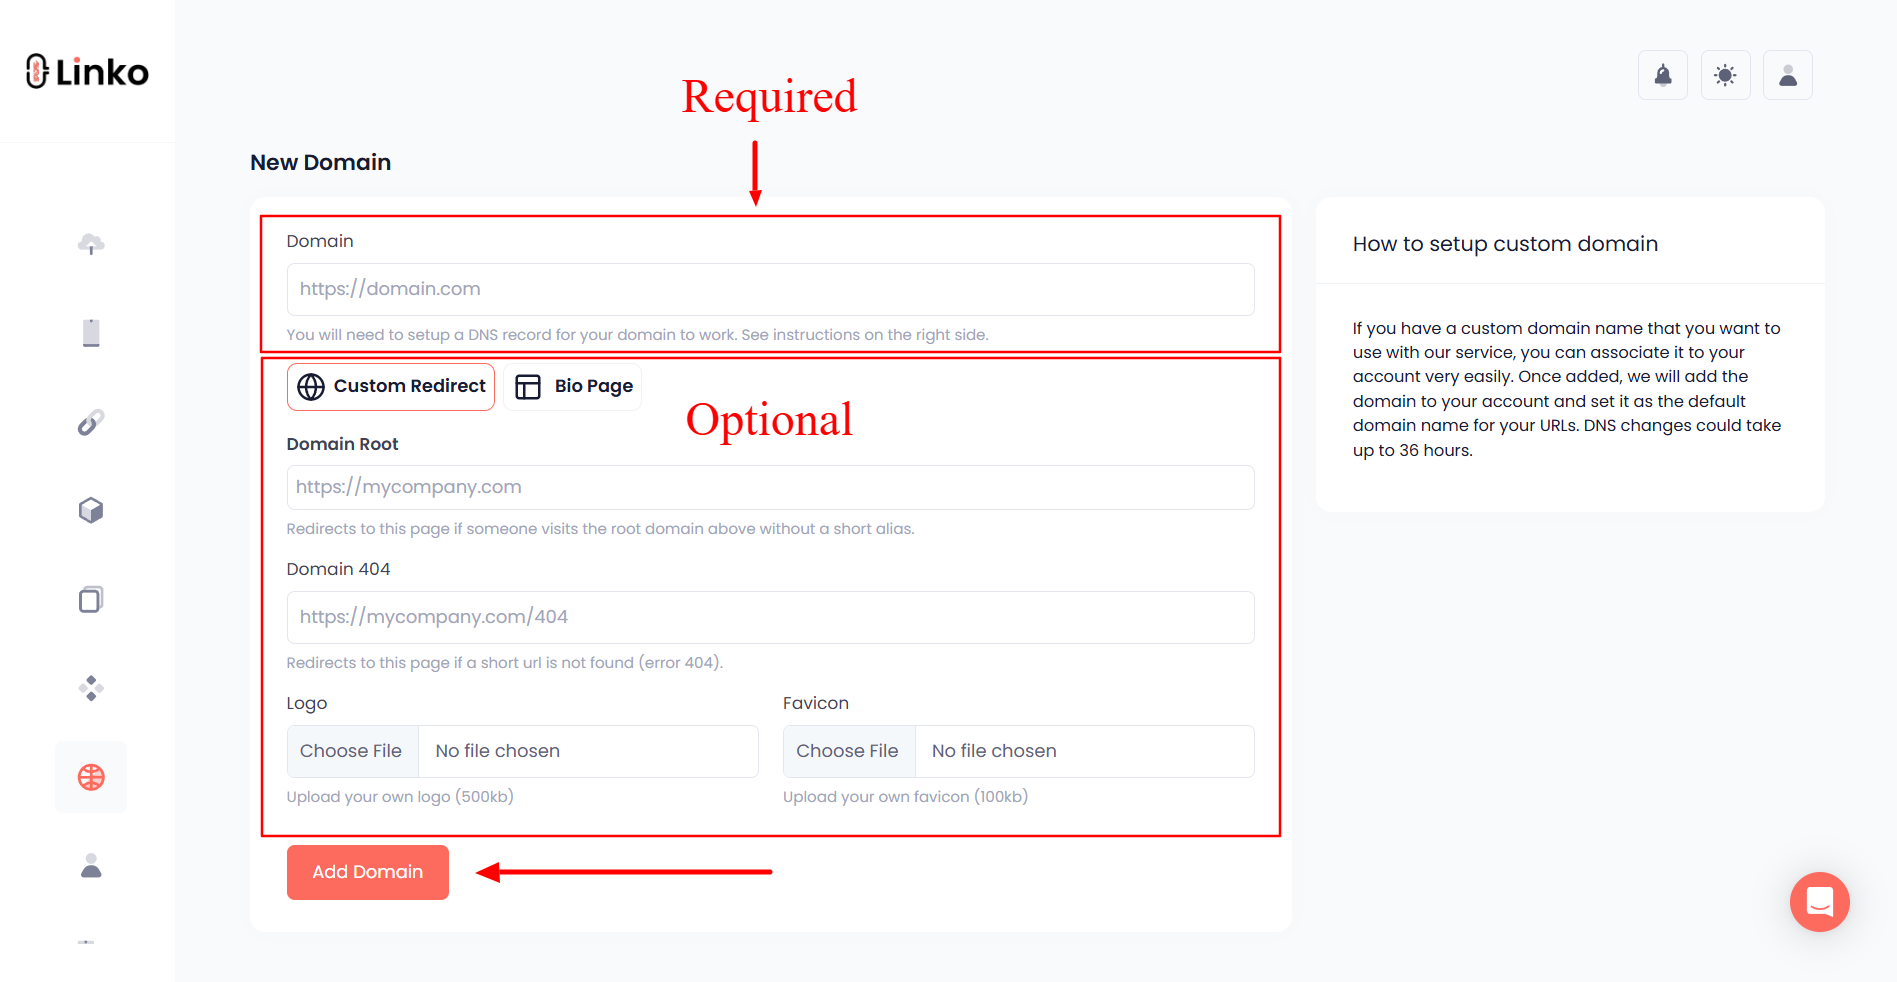
Important Note: Do NOT configure the DNS or point your domain yet. This will be the last step in the process.
Step 2: Export your short links from your current link shortener
-
Log in to your current link shortener.
-
Locate the export option (if available) and download your shortened links as a CSV file.
-
If there is no export option or your plan does not allow exporting, manually collect the destination URLs (long URLs) and their custom aliases.
Example:
Long URL: https://example.com/this-is/long-url

Short URL: https://domain.com/test
In this case, you need to copy the long URL and the short link slug (
/test).
Step 3: Prepare your CSV file for import
Your CSV file must follow a specific format to ensure a successful import.
CSV Format:
longurl,alias
- longurl: The destination URL.
- alias: The custom short link alias. (If left blank, a random alias will be generated.)
Sample CSV File:
longurl, alias, title, description, note, utm_source, utm_medium, utm_campaign, utm_term, utm_content

https://site.com, test-site, A test site meta title., This is a test site meta description., This is an interna note for myself., my website, blog post, affiliate, ppc, last cta
Download this CSV file and follow the same order, or replace it with your links. import-links-example.csv (267 Bytes)
Step 4: Import your links into Linko
-
Navigate to the Import Links section in the left-side panel.
-
Click Choose File and upload your CSV file.
-
Select your branded domain from the list.
-
Choose the Direct method for your links.
-
Click Import to finalize the process and create your short links.


Step 5: Configure your DNS settings
Now that your links have been imported, it’s time to point your domain to Linko so that your short links receive requests and redirect correctly.
Follow this guide: How to set up a branded domain.
After completing these steps, your migrated links will be fully functional on Linko.